There are two ways to update themes for multiple clients: either by theme name, or by client name.
Step 1
Login to your Glow account.
Step 2
Once logged in, click on Tasks from the main left hand menu.
Step 3
The Tasks screen will load the WordPress tab from the inner menu automatically. Click on the Themes tab from the inner menu.
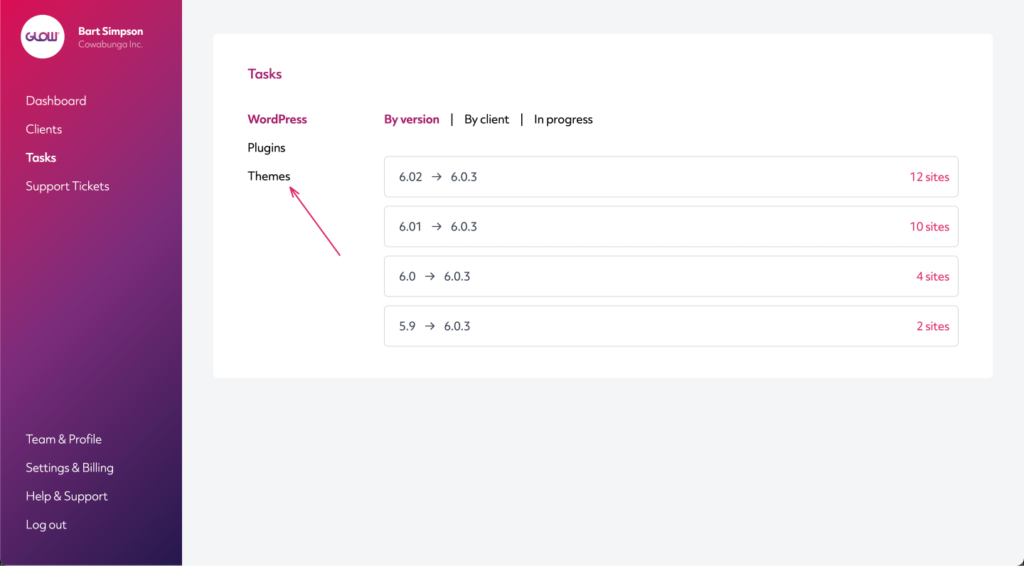
Step 4
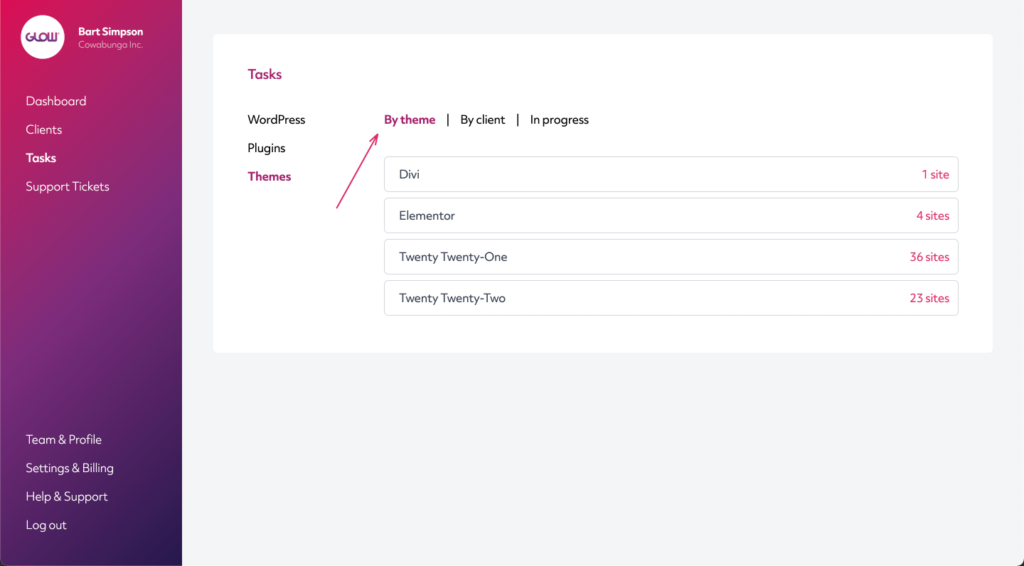
Across the top of the Themes screen, you will notice that the page has loaded on the By theme tab by default.
(If you want to perform this action on a site-by-site basis, move down to Step 8 below).
The available updates are represented in different information bars and will be represented as so:
Step 5
To begin the Update process, click on the information bar for one of the themes and the panel will expand.
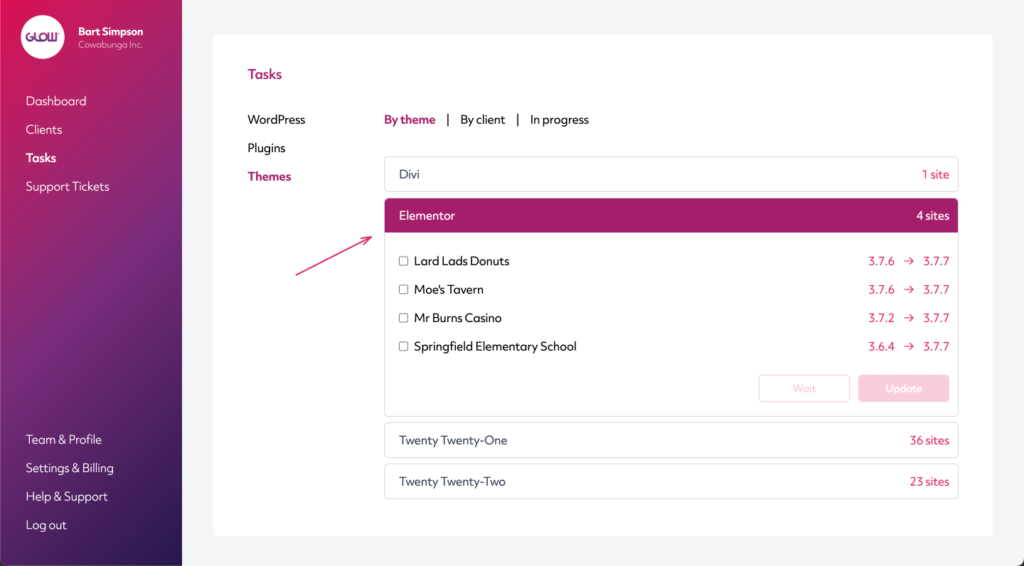
Step 6
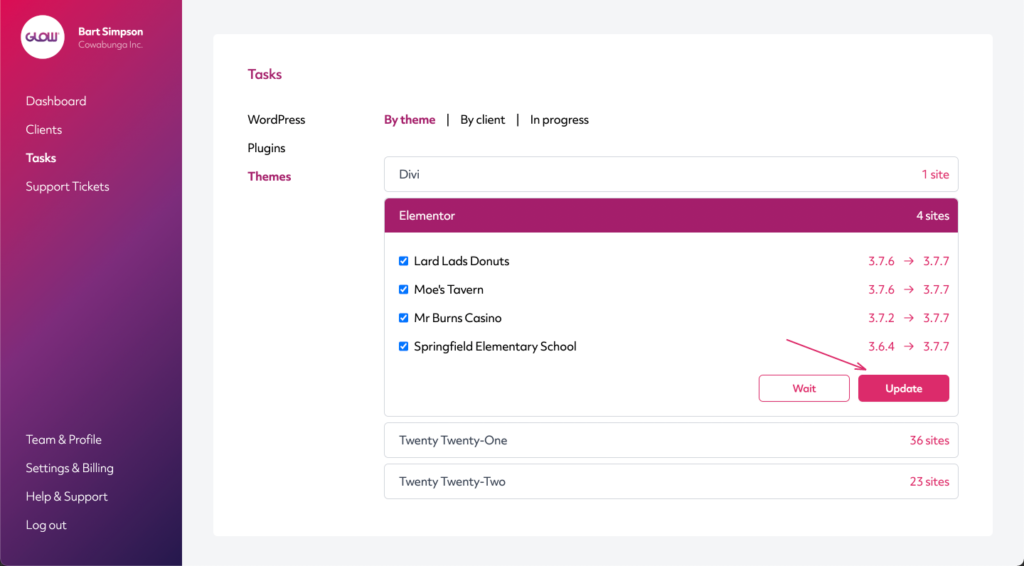
Click on the checkbox to the left of each of the websites that you would like to Update.
Having clicked on the checkboxes you will notice that the Wait and Update buttons in the bottom right corner of the panel are now clickable.
Click on the Update button.
Step 7
A few things will now happen:
- The websites that you selected will disappear from the panel
- The number of sites requiring an update in the header of the panel will have reduced by the number you chose to update
- (If you chose all of them, the entire panel will have disappeared too)
- The
In progress tab across the top will have a small number next to it, indicating the number of updates currently being processed
Step 8
If you instead want to perform the updates on a site-by-site basis, you can do this from the Client Area or by clicking on the By client tab across the top of the Tasks screen:

Step 9
Once the updates are complete, you will see a confirmation in the Timeline for each client.
