Step 1
Login to your Glow account.
Step 2
Once logged in, click on Clients from the main left hand menu.
Step 3
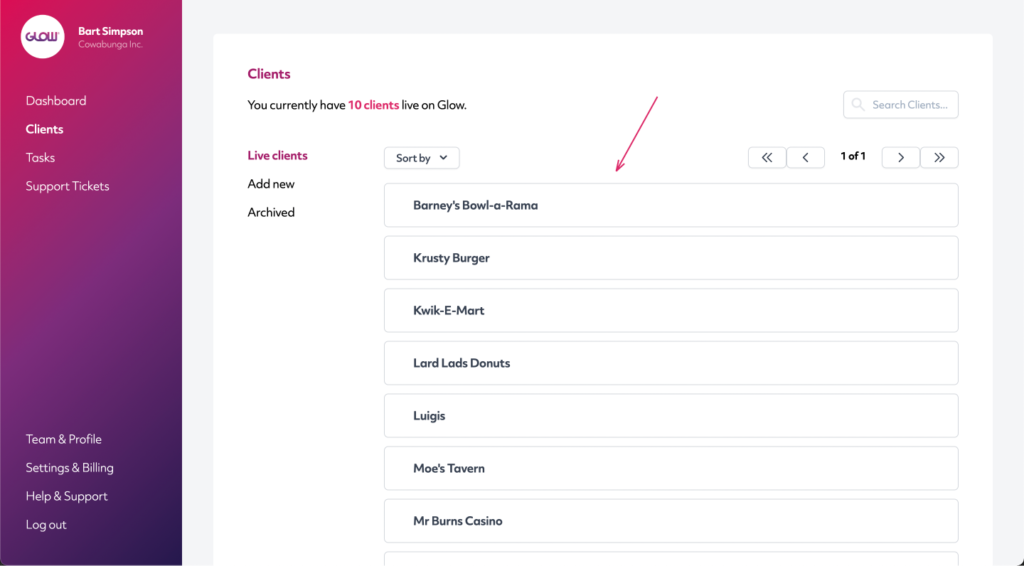
The Clients screen will load the Live clients tab from the inner menu automatically.
Click on the name of your client.
Step 4
You will now be shown the Client Area. The client’s name that you clicked in Step 3 above will be shown as the main heading at the top and the inner menu will load on the WordPress tab by default.
Step 5
From the tabs along the top of the WordPress screen, click Themes.
Here you will see a list of all the themes on this client’s website, in alphabetical order:
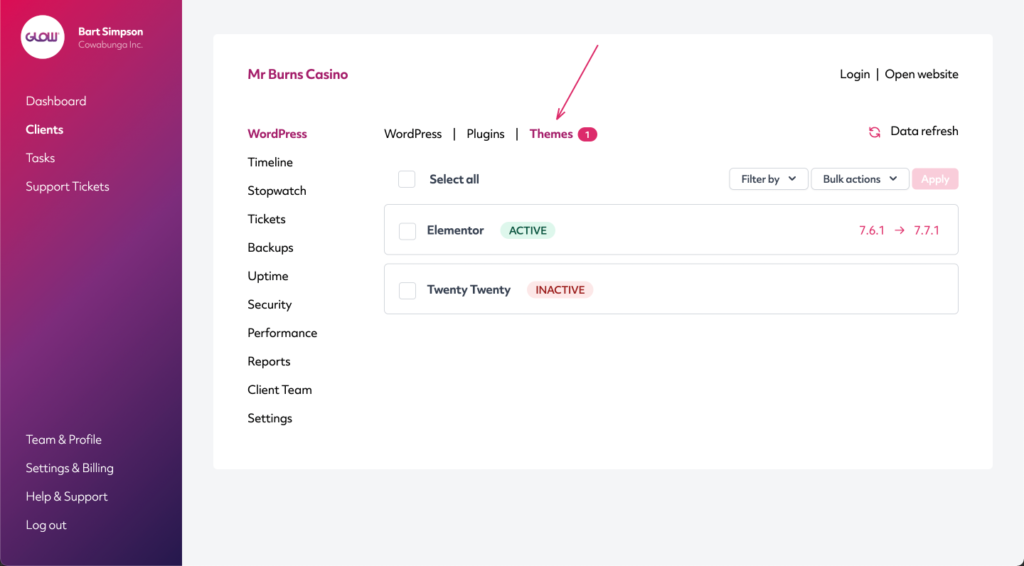
Step 6
If an update is available for any of the themes, you will see the version numbers represented as so on the right side of the panel for that theme:
5.6 -> 5.6.1
The example above indicates that an update of the theme is required from version 5.6 to version 5.6.1.
To begin the Update process, click on the checkbox to the left of the name of the theme for all of the themes that you’d like to update.
You can use the Filter by dropdown menu and then the Select all feature to make this faster:
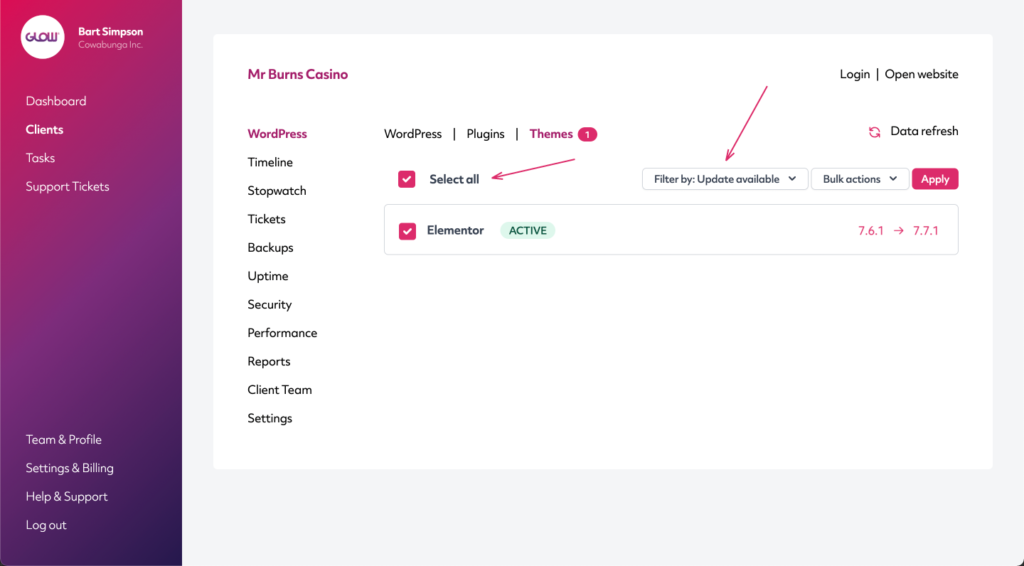
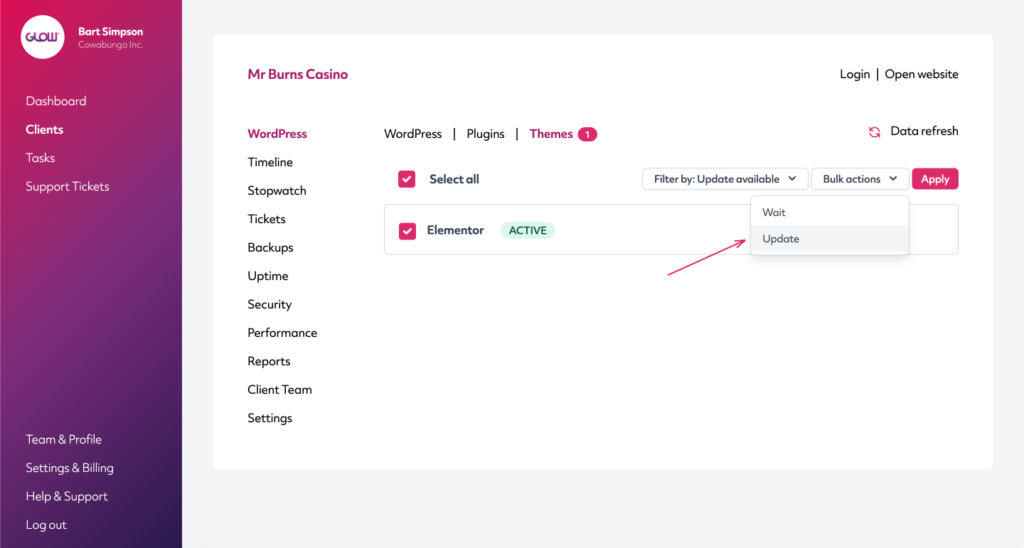
Step 7
Once you’ve selected the themes, click on the Bulk actions dropdown menu in the top right corner and select Update.
Then click the Apply button to the right of the Bulk actions dropdown menu.
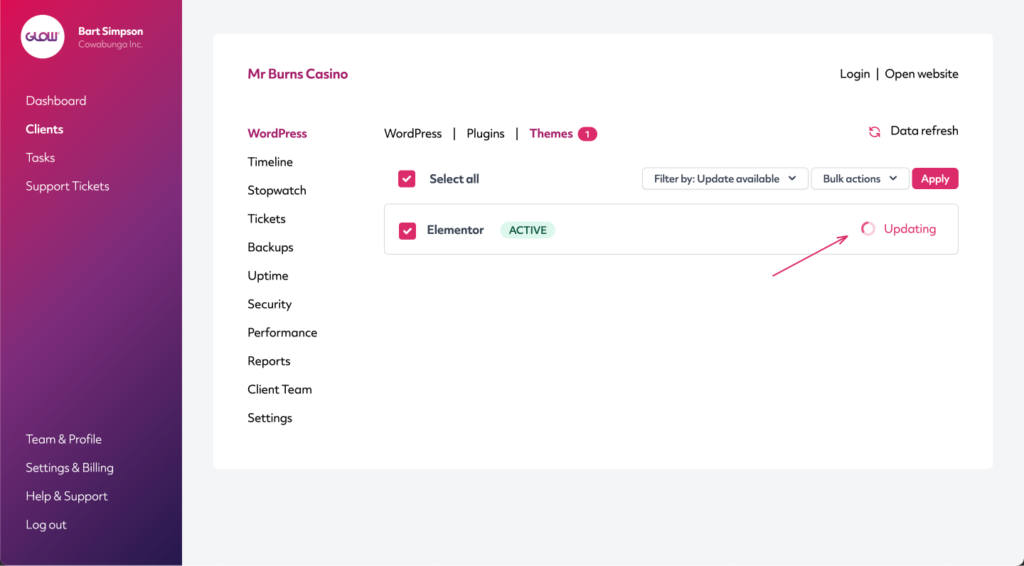
Step 8
You will then see that each theme shows the Updating status on the right side of its panel.
Step 9
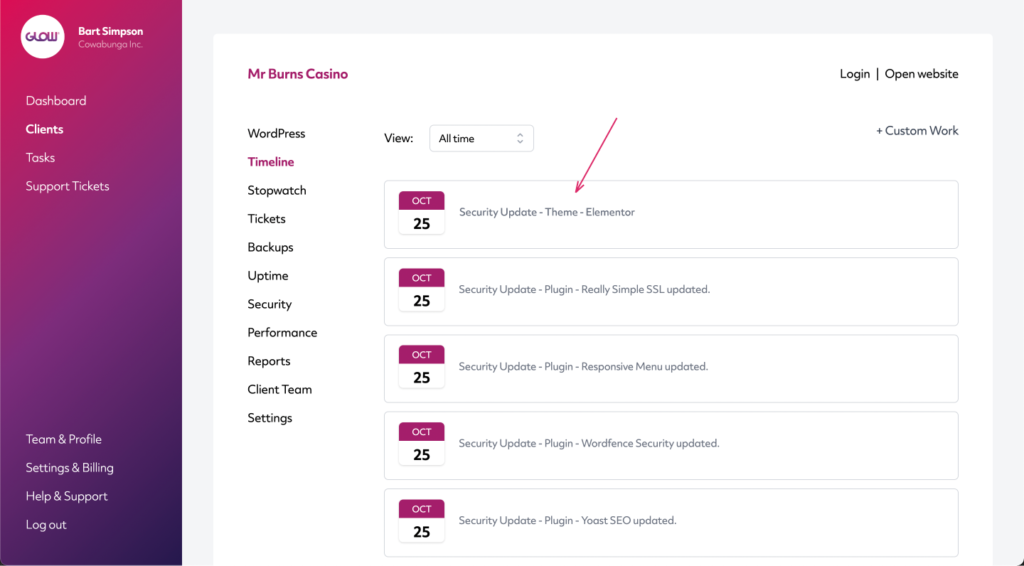
You will will see a confirmation notice across the top of the screen once the updates are complete:
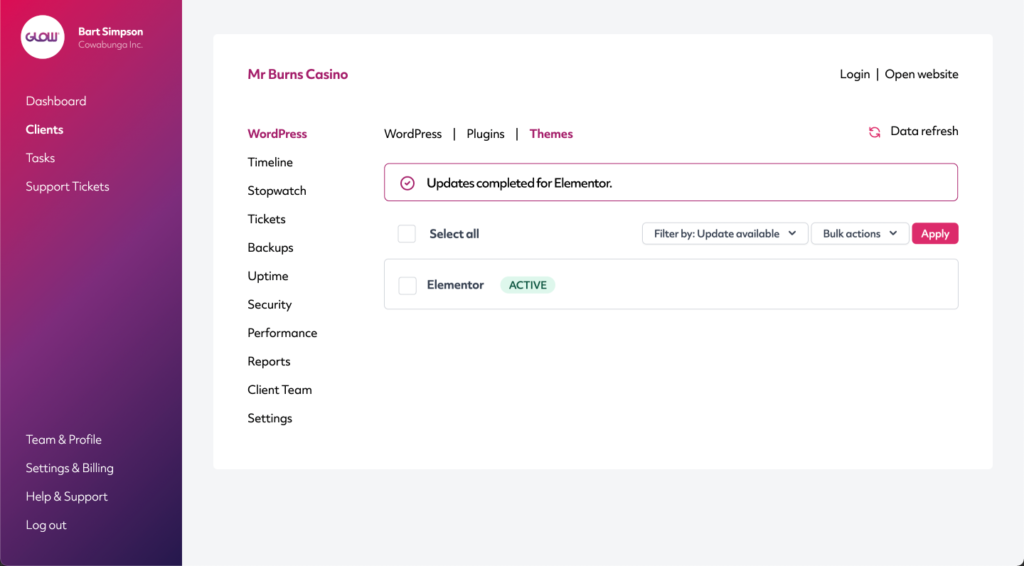
And each update will also have been posted to the Timeline: