Step 1
Log in to your Glow account and go to Clients > Live Clients from the main left hand menu.
Now click on the name of your client for who you want to schedule reports.
Step 2
You will now see the Client Area. From the inner menu, select Reports.
Step 3
You will see 3 tabs at the top of your screen: All reports, Create report and Schedule.
The All reports tab will have loaded by default.
Click on the Schedule tab.
Step 4
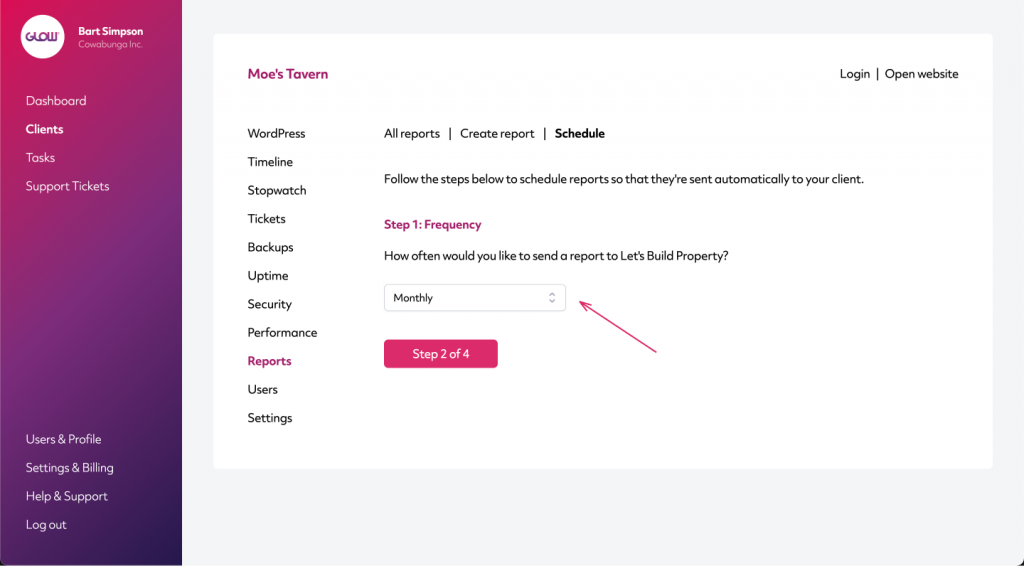
To begin, start by choosing the frequency that you’d like reports to be sent to this client,
You do this by selecting an option from the dropdown menu.
When you’ve done that, click the button that says Step 2 of 4.
Step 5
On the next screen, choose the day of the week that you want reports to be sent to this client.
To do this, select a day from the dropdown menu.
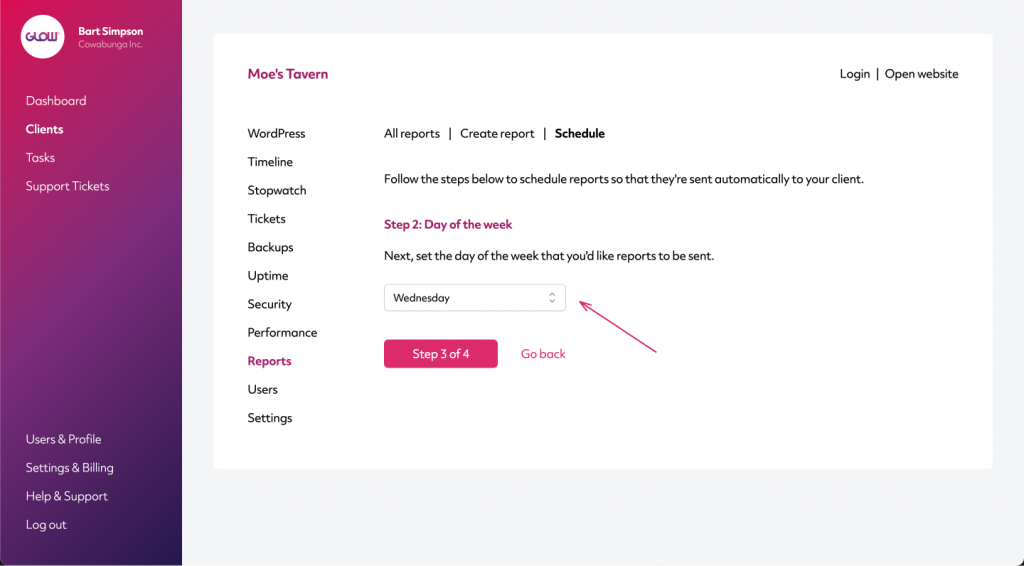
When you’ve done that, click the button that says Step 3 of 4.
Step 6
Now choose the sections that you’d including in these scheduled reports:
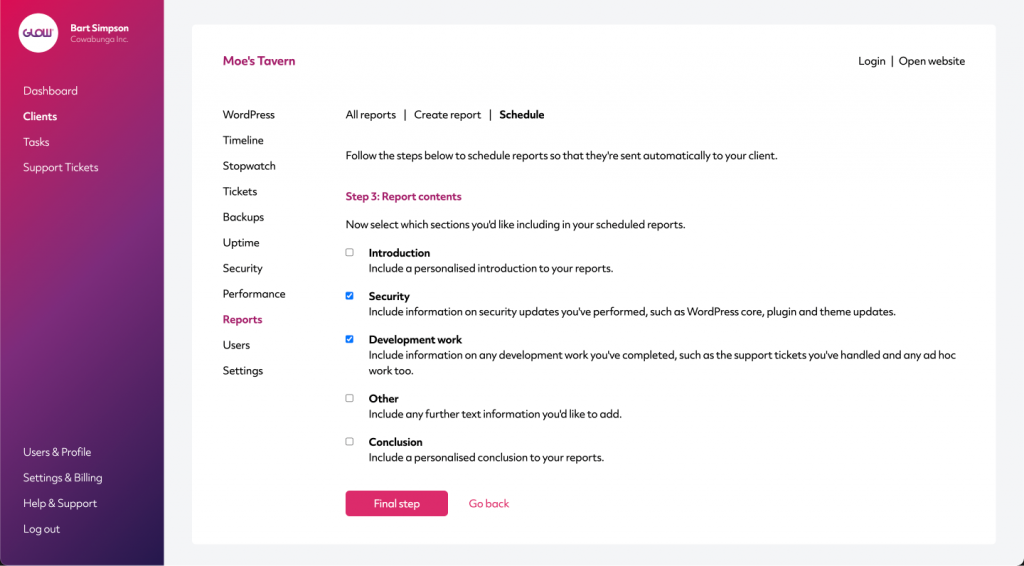
For the Introduction, Other and Conclusion sections, you’re able to add custom text.
Next, click on the button that says Final step.
Step 7
You will see a title that says Sending options.
In this final part of the process, you can choose who to send these reports to and what the content of the email will be.
So let’s start by choosing who to send these reports to:

Click on the dropdown menu in the section named Who should receive the reports?
You will see a list of your client’s team members and you’re able to select 1 or more people.
Once you’ve selected them, you will see them confirmed within the dropdown menu like this:
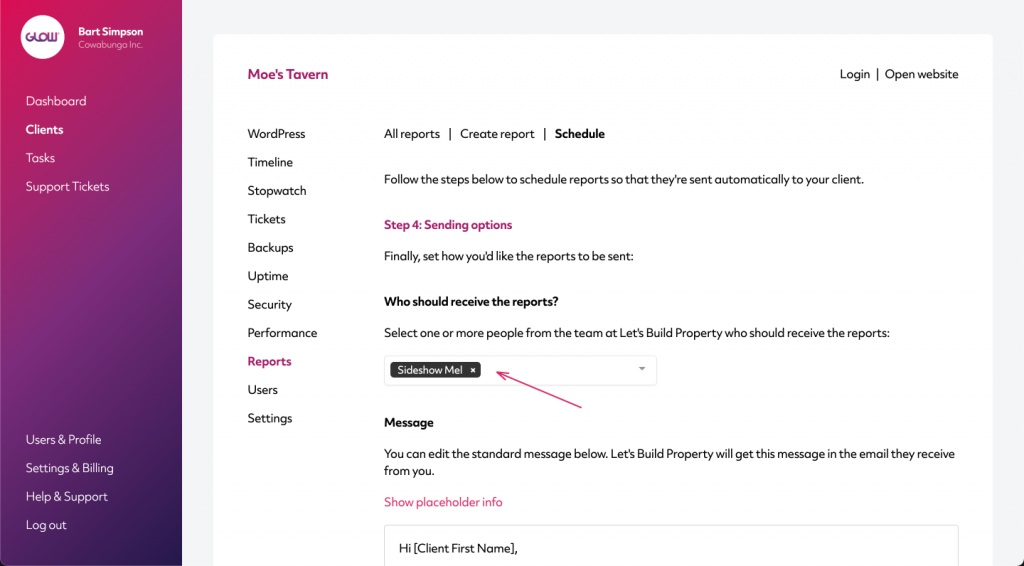
If you made a mistake, you can click the small x icon to remove them.
Step 8
Finally you can customise the content of the email that your client’s team members will receive when the report is sent to them.
Use the Show placeholder info link to add standard information into the email and then customise the remainder of the text to your liking.
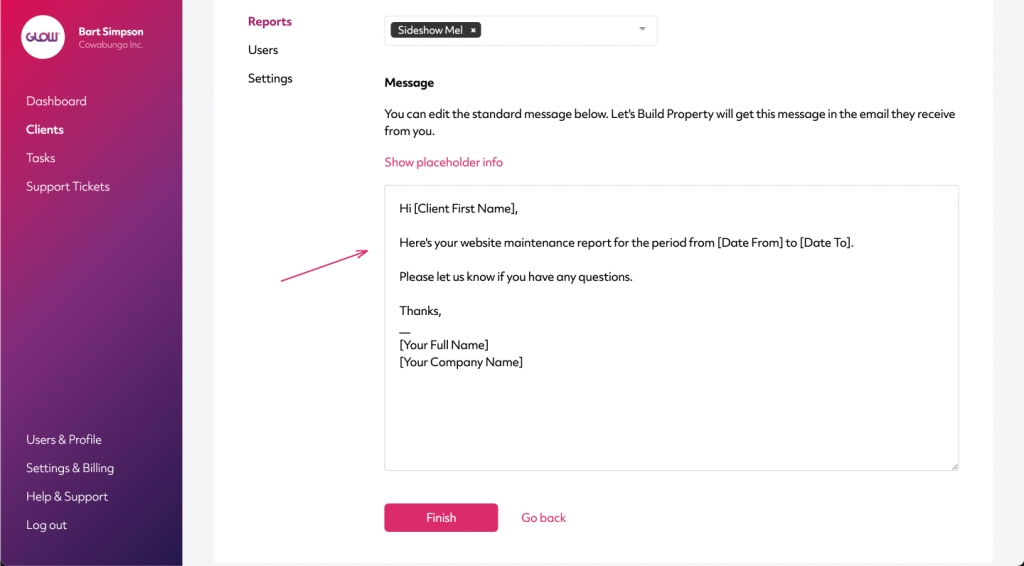
Step 9
Click on the Finish button and the process is complete.
Reports for this client will now be sent automatically.
