Step 1
Login to your Glow account.
Step 2
Once logged in, click on Clients from the main left hand menu. From the inner menu, click on Add new.
Step 3
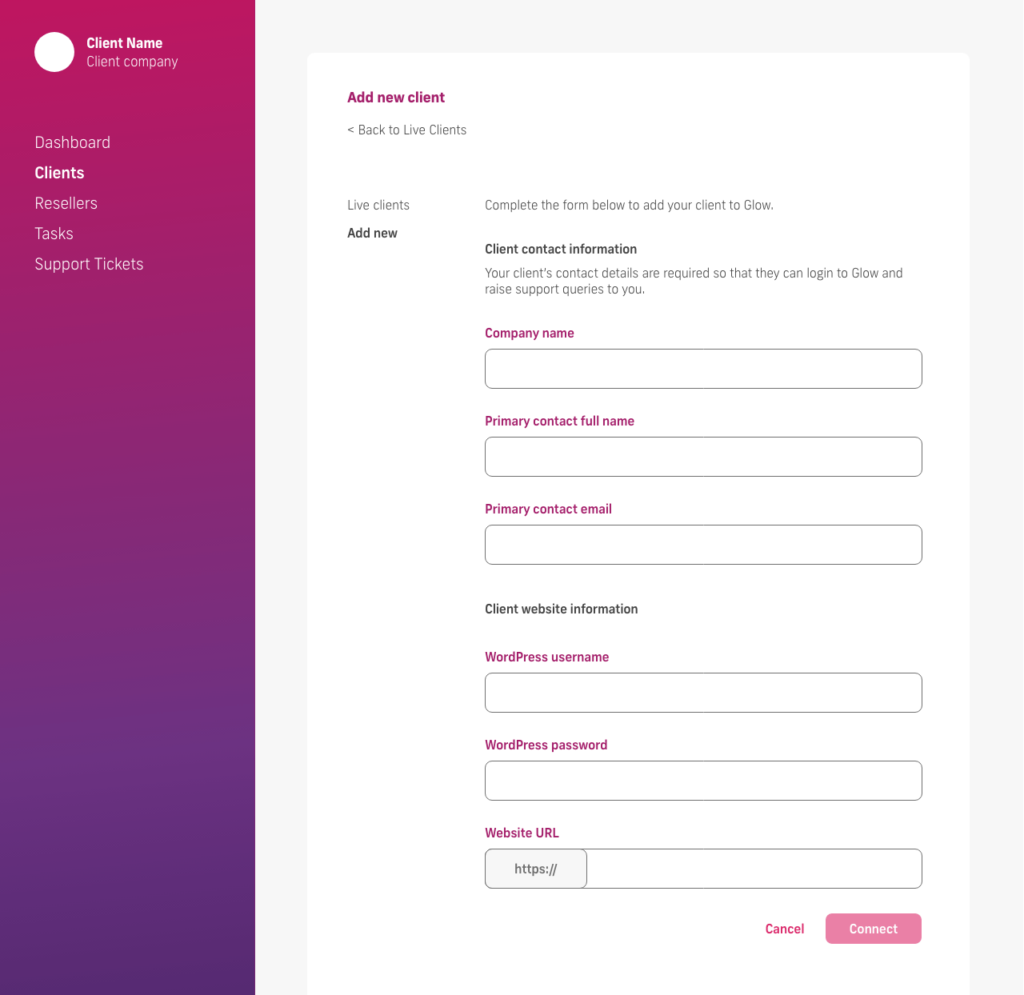
You will now see the Add new client screen. Complete the form showing on this screen, with the required information for your client and their website.
Step 4
Once you’ve completed the form, click on the Connect button in the bottom right corner.
Step 5
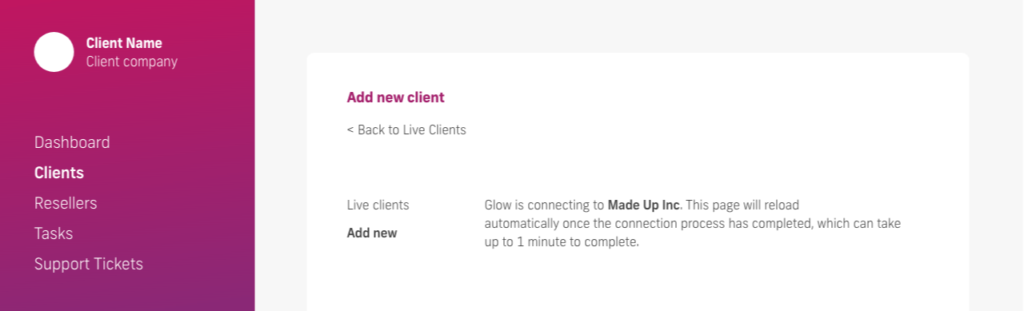
You will now be showing a screen explaining that Glow is attempting to connect to your client’s website.
Step 6
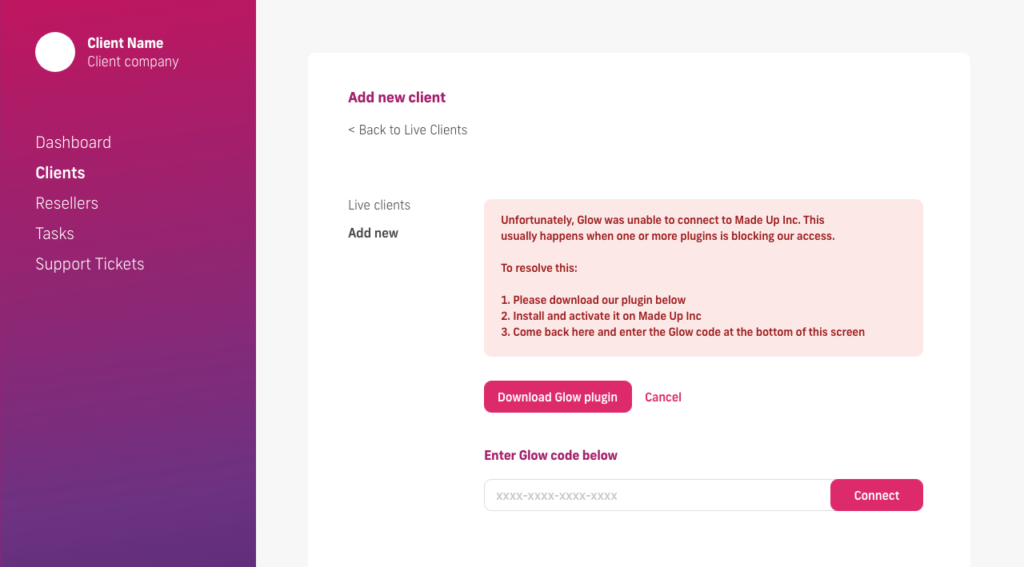
If the connection fails, you will need to download our plugin in order to connect your client’s website.
Step 7
Begin by clicking the Download Glow plugin button. A .zip file will be downloaded to your computer.
Step 8
Open a new browser tab and login to your client’s website. Hover over Plugins from the main left hand menu and click Add new.
Step 9
Click the Upload Plugin button at the top of the next screen and then the Choose file button from the box that shows.
Step 10
Select the .zip file of our plugin that you downloaded from Glow in Step 7 above and then click the Install Now button.
Step 11
Once the plugin is installed, you’ll then need to click the Activate button.
Step 12
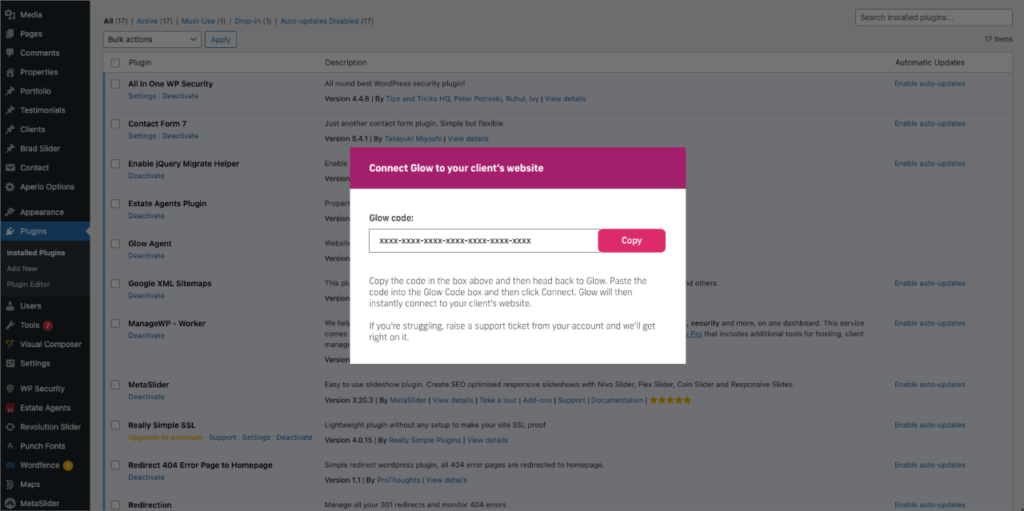
After the plugin has been activated, you’ll see the Glow Code link in the plugin information section. Click this link and a popup will appear, displaying a long code. Copy this code to your clipboard.
Step 13
Head back to Glow in your original browser tab and paste the Glow Code into the box beneath where it says Enter Glow Code below. Then click the Connect button.
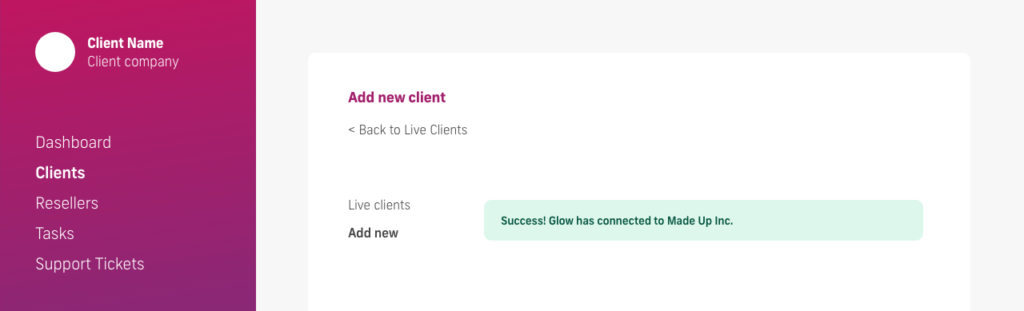
Step 14
Glow should connect almost instantly to your client’s website and you will be shown a success message confirming the process is complete.
You have now finished adding your client’s website to Glow.
